Passionate about pumpkins...I have been beside myself with utter and complete happiness as I wander through stores and see ALL of the fall decorations coming out. In fact, just this morning I was flipping through the mail and looking at some magazines with some fun Halloween stuff. I showed Brett and said, "Don't pumpkins just make you happy?" He doesn't quite share my enthusiasm for decorating. Ha! Fall is my absolute favorite time of year to decorate. Maybe it's because it's the beginning of my favorite time of the year - holidays, traditions, family time, happy memories. Maybe it's because the weather starts to cool down a bit and I can open my windows and enjoy the fresh air. Maybe it's because our neighborhood comes alive again as neighbors wander the streets, go on bike rides, and hang out in the front yard for hours chatting about life. Maybe I'm just looking forward to making harvest loaf cake, delicious soups, and homemade bread. Mmmm...yum! I must admit, it is hard for me to think of all this when it's still over 100 degrees outside. But, I'm getting so excited to decorate that I can hardly stand it! So, since I've been asked (probably at least about 50 times) to post my instructions for the pumpkins, and I took the pictures a year ago.... I guess it's time to share with you my passion for pumpkins.
Originally, I saw these super cute pumpkins in a boutique and they were $20-$25 a piece. Um...yikes! I decided to make my own. I went to Jo-Anns and bought their red-tag home decor fabric. I don't think I paid more than $5 a yard for fabric (and you don't need much!). I bought deep orange velvet, green and brown brocade, mustard swirls, etc. I kind of made it up as I went, so hopefully you have some "sewing knowledge" and I'll try to be as specific as I can (I am gonna apologize right now - because I'm obviously not so good with instructions!).
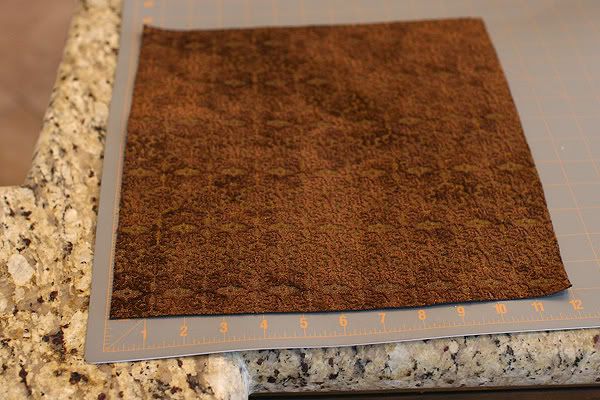
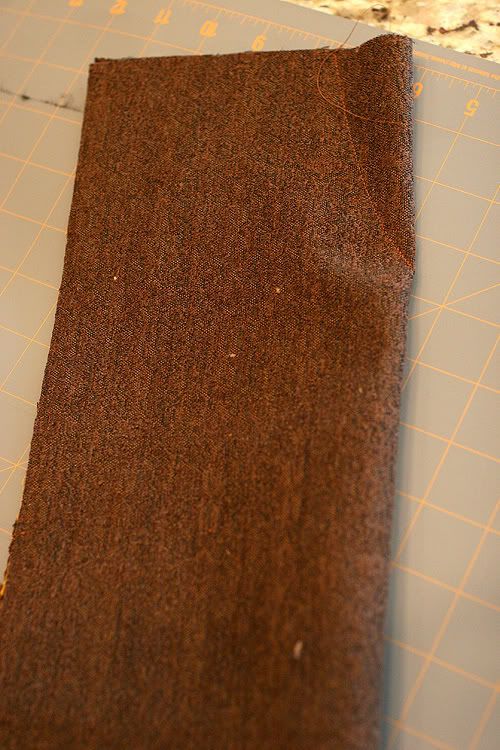
Okay, first step... find some fabric that makes you happy and cut 2 pieces about the same size. You can do them all different - some taller, some wider. Whatever you want. I believe that for this particular pumpkin I started with 2 pieces that were 12x14.
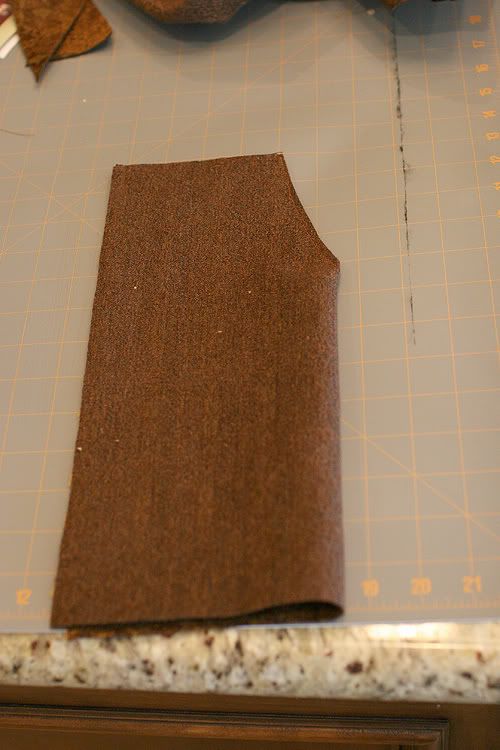
Take your first piece, fold right sides together and sew this - sorry I never measured to see how much I did... aren't you glad that I took pictures? Do this to both pieces, separately.
Trim off the excess fabric on both pieces - your front and your back
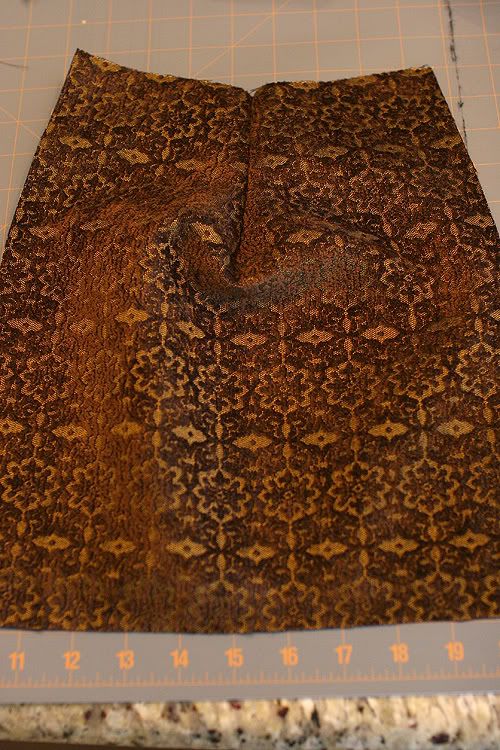
Open up each piece and it should look like this...
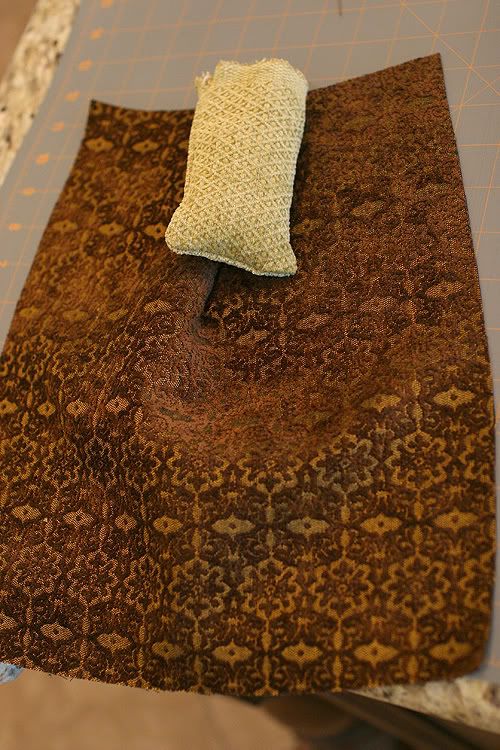
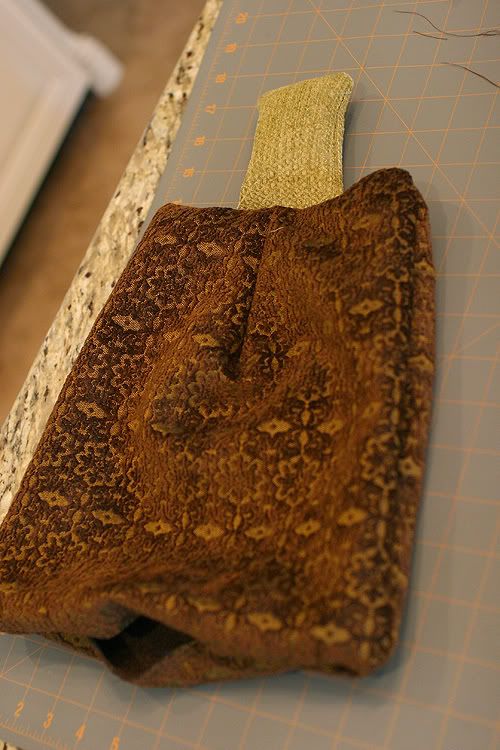
You'll need to make a stem - again you can do random sizes and colors - sew right sides together, leaving the bottom open, turn right side out, and stuff with your favorite stuffing... Place the back side of your pumpkin, right side up, place stem on top (like you see in the picture), place the front side of your pumpkin right side down, and pin your pieces together. When you sew all of these pieces together, round out the corners and make sure to leave an opening on the bottom so that you can turn your pumpkin right side out. Before you turn your pumpkin right side out, trim off the excess fabric.
Oh, look how cute! Aren't you excited???
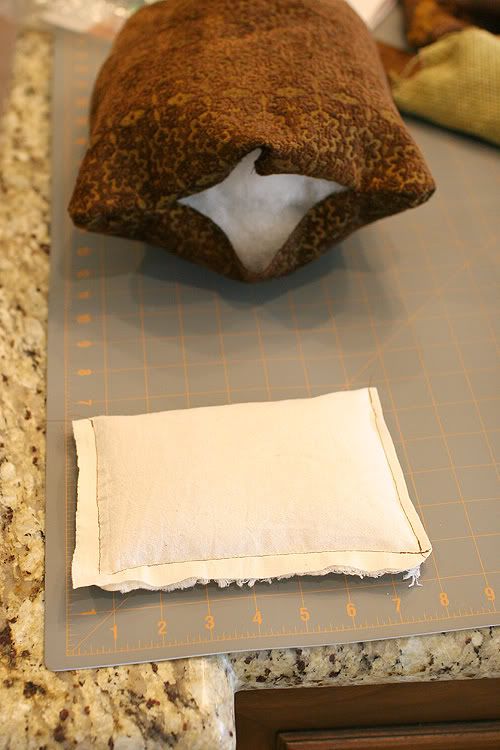
I made little bean bags and stuffed them with rice - I'm sure you could use beans or sand or whatever else you want - to weigh the bottom of the pumpkins down. Then I put the little bags inside the bottom and handstitched the bags just inside the pumpkin, while stitching the pumpkin closed at the same time.
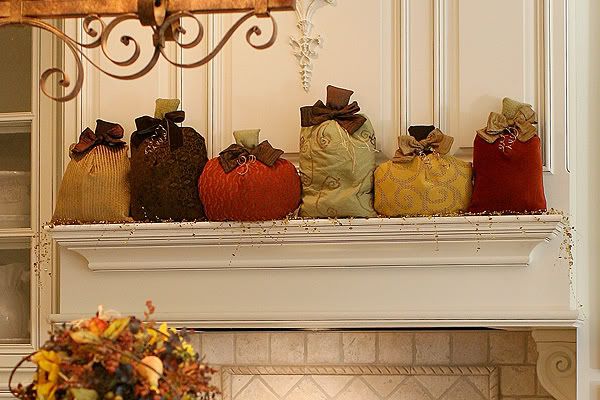
Then you can add bows, raffia, wire curly-q's, or whatever else you want!
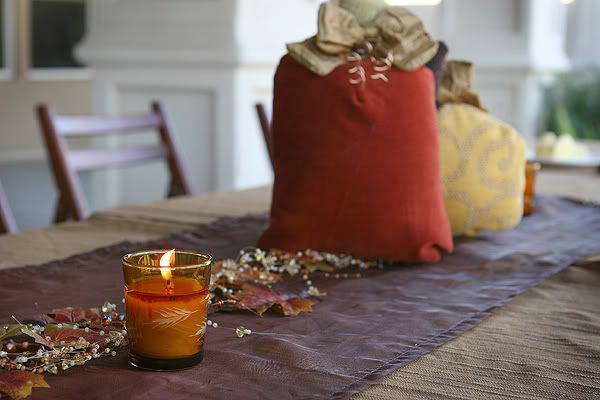
Make enough to decorate your tables for Thanksgiving. I placed them in little groups up and down the table with candles and garland...so cute!
Oh man, I can't wait for fall!!!